Moving funds off an exchange and into cold storage for the first time is simpler than it looks — provided you follow the sequence in the right order and don't skip the verification steps.
Selin AydinSecurity Editor · Crypto security, custody, exploits and smart-contract riskUpdated 19 July 2026
The short answer
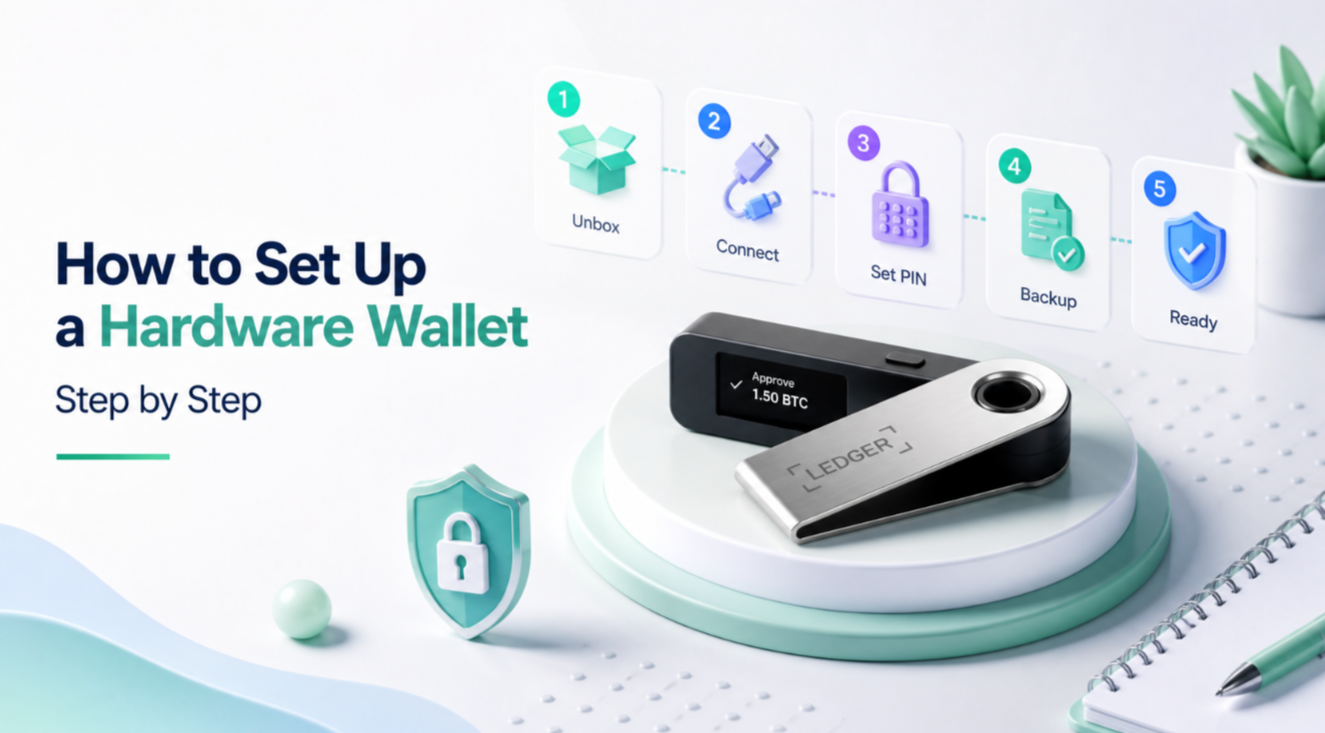
Setting up a hardware wallet takes about twenty minutes, and the order matters. Buy direct from the manufacturer, let the device generate its own seed, write the recovery phrase down offline and verify it, set a PIN, then send a small test transaction before moving anything substantial. A device that arrives with a recovery phrase already written down is compromised.
Setting up a hardware wallet is the single most effective thing most crypto holders can do to protect themselves, and it takes about twenty minutes once you know the order of operations. The steps themselves are straightforward; where people get into trouble is skipping verification steps or handling the recovery phrase carelessly. Here's the process done properly, from unboxing to moving real funds.
Why Bother With a Hardware Wallet
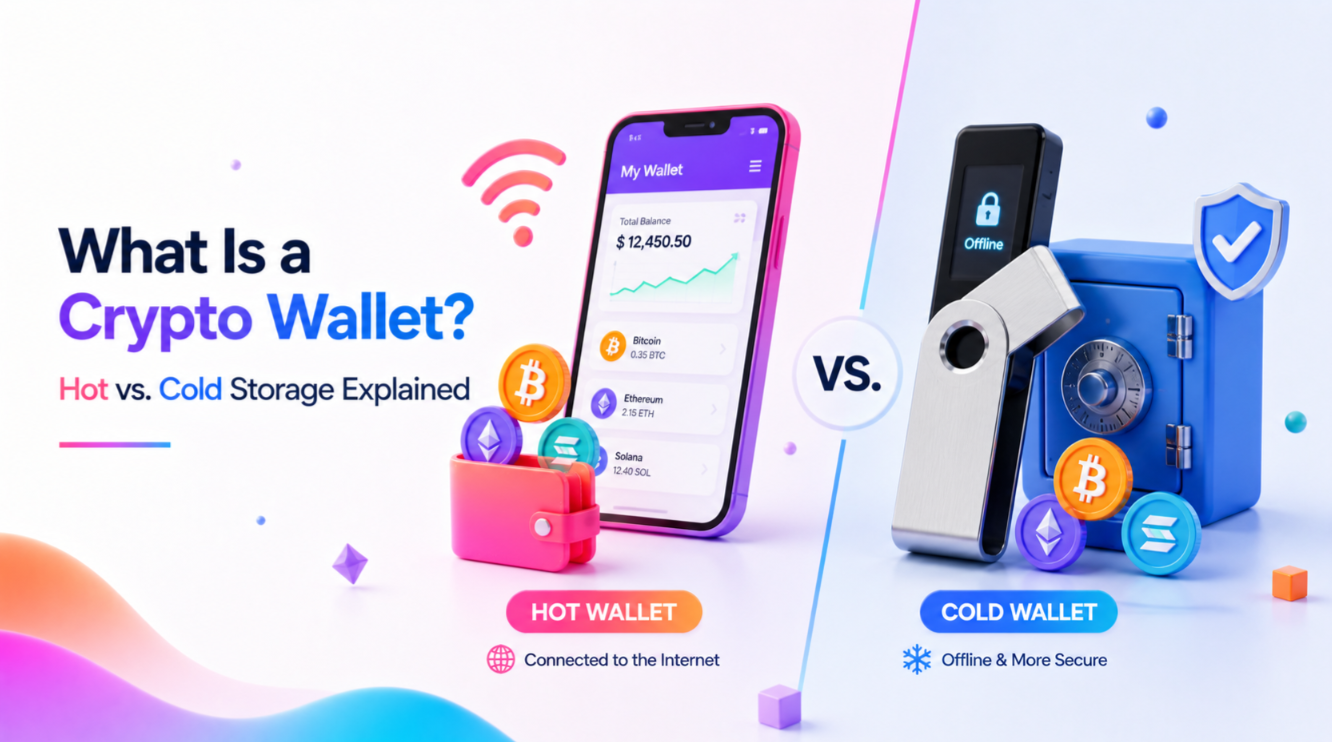
Coins sitting on an exchange are, legally and technically, an IOU — you're trusting that platform's solvency and security, not holding the asset yourself. A hardware wallet keeps your private keys on a physical device that never exposes the keys themselves to the internet, so malware on your laptop can't simply lift them the way it could from a browser-based hot wallet. It's not a guarantee against every kind of attack, but it removes the entire category of remote key theft that accounts for most retail losses.
Before You Start: What You'll Need
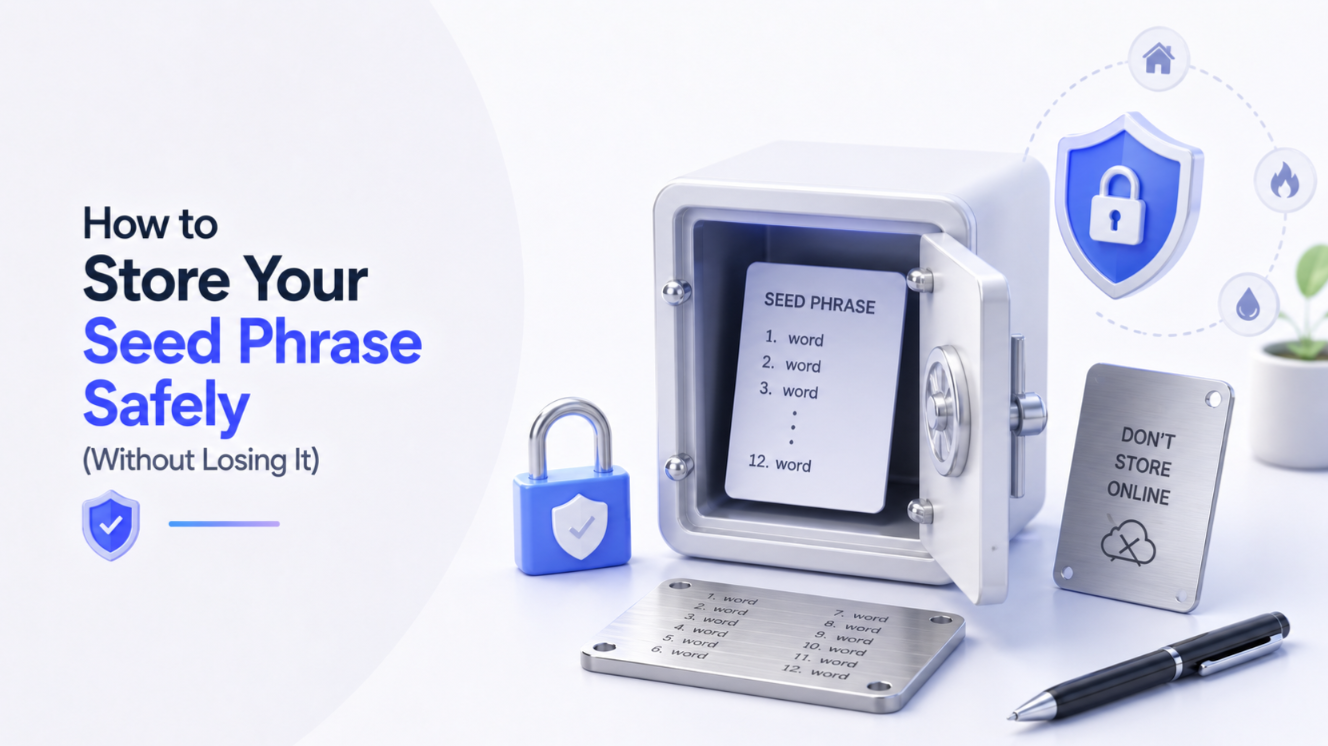
You'll need the hardware device itself, a computer or phone to run the companion software, somewhere private and quiet to write down your recovery phrase, and — this is the part people forget — a plan for where that recovery phrase will physically live afterwards. Fireproof, waterproof and hidden from casual view are the three properties worth optimising for, whether that's a safe, a safety deposit box, or a steel plate designed for the purpose.
Step 1: Buy Direct, Never Secondhand
Order from the manufacturer's own website or an authorised retailer, never from a marketplace listing or a secondhand device, no matter how good the price looks. Devices sold used or through unofficial channels have occasionally arrived pre-tampered, with a seed phrase already generated by the seller and waiting to be swept the moment funds land. When the package arrives, check the tamper-evident seal before doing anything else. If it looks disturbed, stop and contact the manufacturer rather than proceeding.
Step 2: Initialise the Device and Generate Your Seed Phrase
Power on the device and choose 'create a new wallet,' not 'restore.' This matters — you want the device generating a fresh seed phrase itself, using its own hardware random number generator, rather than importing one from anywhere else. The device will display a sequence of words, typically twelve or twenty-four, one at a time on its own screen. This is the single most important moment in the whole process: those words are the master key to everything you'll ever hold on this wallet.
Step 3: Verify the Recovery Phrase and Store It Offline
Write the words down by hand, in order, on the physical card provided or a steel backup plate — never type them into a phone, computer, password manager, or cloud note of any kind. A device that has touched the internet at any point should never touch your seed phrase. Most hardware wallets will ask you to re-enter a few of the words to confirm you copied them correctly before letting you proceed; treat that check seriously rather than rushing through it, because a single miswritten word can make the backup useless later when you actually need it.
Step 4: Set a PIN and Install the Companion App
Choose a PIN for the device itself — this protects against someone physically picking it up and using it, separate from the seed phrase, which protects against loss of the device entirely. Then install the manufacturer's companion app on your computer or phone, downloaded only from the official website or app store listing, and connect the device to create your first accounts for whichever assets you plan to hold.
Step 5: Send a Test Transaction First
Before moving anything meaningful, send a small amount — a few pounds' worth — from your exchange or existing wallet to the new hardware wallet address, and confirm it arrives and that you can see it correctly in the companion app. Then, critically, verify the receiving address on the hardware device's own screen, not just on your computer monitor, before confirming any transaction; this is the step that defeats address-swapping malware, which can alter the address shown on an infected computer while leaving the device's own display accurate.
Passphrase and multi-account setups worth knowing about
Most hardware wallets support creating multiple accounts from the same seed phrase, which is handy for separating long-term holdings from an account used for more frequent DeFi activity, without needing a second physical device or a second seed phrase to manage. It's also worth knowing what a firmware update prompt looks like on your specific device before you're staring at one for real, since firmware updates are a point manufacturers use to patch security issues, but they're also a moment where a fake prompt on a compromised computer could try to trick you into approving something you shouldn't. Genuine firmware updates are confirmed on the device's own screen, following the same principle as verifying an address: the small, physically isolated screen is the one source of truth, not whatever your main computer happens to be displaying.
Step 6: Move the Rest of Your Funds
Once the test transaction has confirmed and you're satisfied everything matches, move the rest of your holdings across in batches rather than all at once if the total is significant, double-checking the destination address on the device screen every single time. There's no meaningful downside to being deliberate here — the few extra minutes per transfer cost nothing next to the funds at stake.
Common Mistakes That Get People Robbed
The recurring failure pattern is almost always the same: someone photographs their seed phrase, types it into a 'wallet recovery' website that claims to check it, or stores it in a note synced to the cloud, and an attacker eventually finds it. No legitimate wallet company will ever ask for your seed phrase over email, chat, or a support ticket — anyone who does is attempting to steal from you, full stop. Equally common is buying a device from an unofficial reseller and skipping the tamper checks, which is how a pre-compromised device with a known seed phrase ends up holding someone's savings.
A subtler mistake is treating a single seed phrase backup as sufficient forever, then losing it in a house move, a fire, or simply a bad memory of where it was put. It's worth deciding upfront whether a single well-secured copy is enough for your circumstances or whether you want a second copy in a geographically separate location, and writing that decision down as a deliberate plan rather than leaving it to chance. Some holders also choose to split the phrase using a passphrase feature many devices support, which effectively creates a hidden second wallet on top of the base one — useful for plausible deniability, but genuinely easy to get wrong if you forget the exact passphrase, since there is no support line that can recover it for you.
Recovering a Wallet on a New Device
The entire point of writing the seed phrase down is that the hardware device itself is replaceable — it's a screen and a secure chip, not the actual store of value. If a device is lost, stolen, or simply breaks, buying a new one from the same or a different reputable manufacturer and choosing 'restore from recovery phrase' during setup will regenerate every account and balance tied to that phrase, because the coins were never really 'on' the device in the first place; they exist on the blockchain, and the device just holds the key that proves ownership. Testing this recovery process once, with a throwaway wallet holding a trivial amount, is a worthwhile exercise before you ever need to do it for real with meaningful funds on the line.
Done properly, a hardware wallet turns securing crypto from an abstract worry into a concrete, repeatable habit: buy direct, generate fresh, verify offline, check every address on the device screen, and never let the seed phrase near anything with a network connection. It's not exciting, but it's the difference between self-custody that actually protects you and self-custody that just feels like it does.
FAQ
Where should I buy a hardware wallet?+
Directly from the manufacturer or a reseller listed on their official site. Never from a marketplace, an auction site or any second-hand seller.
What if my device arrives with a recovery phrase?+
It is compromised. No legitimate device ships with pre-generated words in any form. Do not use it and contact the vendor through a URL you typed yourself.
Should I send a test transaction first?+
Always. Move a small amount, confirm it arrives, and only then transfer the rest. It costs a fee and catches an address or network mistake while it is still cheap.
How do I recover a wallet on a new device?+
Enter the recovery phrase into the new device. Test this before you rely on it — an untested backup is the most common way self-custodied funds are lost.
 Selin AydinSecurity Editor · Crypto security, custody, exploits and smart-contract risk